Showing posts with label chocolate. Show all posts

Dark chocolate and caramel brownies

19 July 2017


In July, I made a lot of brownies. Maybe it's because the days were much darker, and colder, than usual. There were also celebrations big (new babies!) and small (winter solstice), and a few intensely busy weeks too. Baking a batch of brownies became my default response.

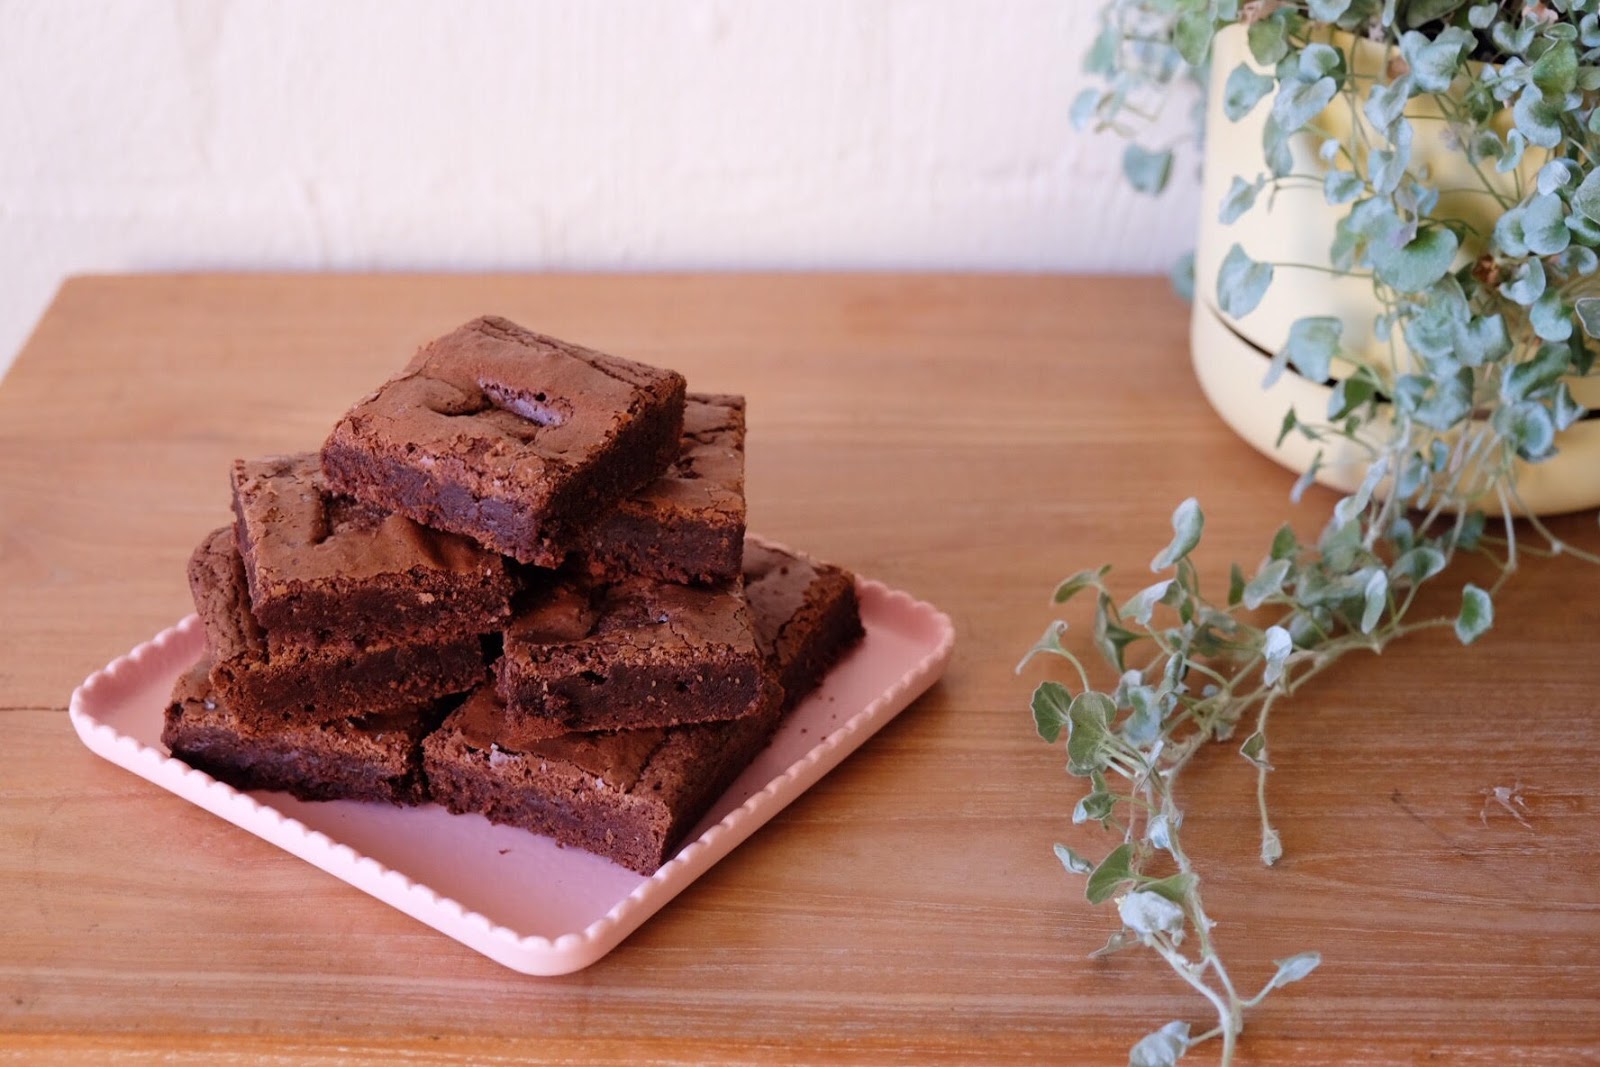
These brownies can be made in one-bowl and come together really quickly. They're fudgy and rich, and are best eaten with one hand. That makes them especially good for new parents, road trips and unfussy dinners with friends. They also freeze well, so you can have them on hand for especially cold or ordinary days :)


Dark chocolate and caramel brownies
Adapted from Round to Ours by Jackson & Levine

You'll need:

100g dark chocolate, roughly chopped*
125g unsalted butter, cubed
200g caster sugar
50g light brown sugar
2 large eggs
1 tsp vanilla extract
1 tsp sea salt
80g plain flour
20g Dutch-process cocoa
12 pieces of caramel-centred chocolate (Nestle's Rolo requires no chopping, I've also used Cadbury's Caramello bars, and quarter teaspoons of Nutella in a pinch!)

* It's worth buying the nicest cooking chocolate you can afford. I use Lindt's dark bittersweet buttons, which are 58% cocoa. Lindt Dessert is 70% cocoa and can be found at most supermarkets. Other cooking chocolate will give you a slightly sweeter and less chocolatey brownie.

Here's how:

Preheat the oven to 180°C and lightly grease a 28 x 20cm brownie tin. You can also use a square 20 x 20cm cake tin and make thicker brownies. Line the tin with baking paper and let it hang over two of the sides to create a sling. It'll help you lift your brownie out of the pan later.

Fill a small saucepan with a few centimetres of water and warm it slowly, on medium heat. Place your chocolate and butter in a bowl and rest it on the saucepan's rim. Make sure the bottom of the bowl doesn't touch the water. As the water starts to steam and simmer, the butter and chocolate will gradually melt. Mix them together with a wooden spoon.

As soon as it's melted, take the chocolate mixture off the heat and mix in the sugars with a whisk. Add the eggs, one at a time, whisking after each addition. Then add the vanilla extract and half of the salt and whisk again.

Sift in the flour and cocoa and whisk slowly until just combined. Pour your batter into your tin and smooth the top with a spoon. Before you pop it in the oven, add your chosen chocolate. Gently push it into the brownie batter at regular intervals. Sprinkle the remaining salt over the brownie, crushing it up between your fingers as you go.

Bake for 20-25 minutes or up to 30 minutes if you're using a square pan. The top of the brownie will be a pale brown and starting to crack when it's ready. You can also use a skewer to test for doneness. The brownie will continue to set as it cools, so don't worry if the skewer comes out a little sticky.

Let your brownie cool before slicing them. This recipe is a good one to make the day before, you can leave the brownies in the tin overnight and cover with a beeswax wrap or clingwrap. Aside from freezing well, these brownies can also survive the post! An entire batch of brownies makes a very good gift, and if you add candles it's a birthday cake :)


Three of a kind: Chocolate cake

29 June 2017


Every now and then, life calls for a good chocolate cake. I still remember the one I grew up baking, it came from a pink Family Circle cookbook and was the cake on the cover. It had two layers, lots of buttercream icing and a pile of chocolate curls stacked neatly on top.

I remember mixing it up in a big plastic bowl that was '70s brown. I also remember making it with my sister at our grandmother's house. We invited our younger brother to sample the 'yummy' cocoa and water mixture, which I still feel bad about it!

In the decades since, I've settled on three favourite recipes:

Smitten Kitchen's 'I want chocolate cake' cake is my go-to recipe because it's unfussy and totally satisfying.

Magnolia Bakery's super rich chocolate cupcakes are denser than any cupcake you can buy and excellent with Molly Yeh's green tea frosting.

Finally, if baking a chocolate cake the size of two roasting tins appeals to you, Ruth Reichl's giant chocolate cake will do the job. It feeds 20 and it's also a great base for novelty birthday cakes :)

P.S Don't feel like cake? Here are my five favourite choc chip cookie recipes.

A very good baking book

10 May 2016


After the duck cake there was a cake of a simpler kind, a flourless chocolate fudge cake made for a special morning tea at work. It was baked late on Wednesday night and as I pulled it out of the oven, I knew I'd made something special.

I've had the The Cook and Baker cookbook since late last year, Annabel Crabb raved about it on the podcast she shares with Leigh Sales and off I went to find track it down. The best thing about it? Knowing that the time, effort and ingredients that go into any recipe will definitely pay off. And most of the recipes are straightforward, which is great because most of my baking happens after work.


The chocolate cake was for a special send off at work, for a long-serving and very lovely guy who was a day away from retirement. I'm really enjoying being part of a bigger office, I've gone from having six colleagues to 40 or more. It gives milestones like this one the ceremony they deserve. I also learn so much from the tiniest interactions and it's slowly changing my work for the better.

P.S Thank you for all of your lovely comments about the rubber ducky cake. Here it is in transit to the event, which was packed. People were lining up around the hotel just to get in. My friend Louise was there right at the end and says my cake went for $100. It was also on the news that night! I was thrilled - with the cake and the opportunity to support an excellent local charity.

Grown-up chocolate biscuits

02 April 2015


My friend Vanessa has a knack for finding great things - great books, articles, radio docos and most recently - online recipes. One of her latest finds is this chocolate biscuit recipe, which she's adapted. Her version is really good and I may have spent a good part of a day at work looking forward to going home to my chocolate biscuits.

Chocolate and almond biscuits

You'll need:

220 grams butter, softened
70 grams caster sugar
150 grams self-raising flour (I've used plain flour too and it turned out fine)
70 grams almond meal
4 tablespoons cocoa powder
1/2 cup flaked almonds, plus extra for sprinkling

Here's how:

Preheat then oven to 190 celsius and line two baking trays. Cream the butter and the sugar until soft and pale - I use a mixer but you can do it by hand as well. Then sift in the flour and cocoa powder, add the almond meal and mix well. Add your flaked almonds and mix gently until combined. The cookie dough will be moist and sticky.

Using floured hands, roll the dough into balls. I used a tablespoon and made around 18 cookies, you could use half a tablespoon if you wanted smaller cookies. Place the balls onto your trays and press gently. Sprinkle each cookie with extra flaked almonds. Bake for 11 minutes for the medium sized cookies, around 7 minutes for the smaller ones.

Transfer to a cooling rack after the cookies have cooled slightly, around 15 minutes.

And just a tip:

These bikkies are pretty quick to make if you've left your butter out to soften. They'll be a bit crumbly if you eat them warm (the best time to eat them) but they firm up the next day.

Easy homemade rocky road

17 March 2015


My friend Haline makes her own rocky road, she has a really pretty version with edible flowers and my favourite - a version that includes peanut butter and gummy bears!

Here's how to make both types and just a warning - I somehow managed to get chocolate on my shirt, jeans and feet in the process. But don't let that deter you, it's really delicious and decadent too :)


Homemade rocky road

You'll need:

400g dark chocolate (or use a mix or 200g milk and 200g dark chocolate)
Half a packet of marshmallows chopped into chunks, preferably the dome ones you get from Coles
3 handfuls of mixed nuts, try a deluxe mix with pistachios, almonds, cashews and macadamias
1/4 cup of desiccated coconut
A small packet of edible flowers, found at Harris Farm
Extra nuts and coconut for decoration

Variation:

1/2 cup of peanut butter
Two or so handfuls of gummy bears or jelly snakes

Here's how:

Line a small lamington tray with baking paper and lay out your marshmallows. The recipe is a rough guide, so use as many or as few as you'd like. Same goes with the nuts, which you sprinkle along with the desiccated coconut over your marshmallows. Add your lollies too if you're using them. I tried to cover the whole surface area of the tray with goodies.

Then melt the dark chocolate (you're using a fair bit of chocolate so go with the water bath method and have a tea towel or oven mitt handy for when you're taking it off the stove). Stir in the peanut butter if you're using it and mix until smooth.

Pour the chocolate mixture over your ingredients and then sprinkle with extra nuts, coconut and edible flowers and allow to set in the fridge for 2-3 hours. When it's set, chop into chunky pieces and sample immediately. It makes a nice gift if you're prepared to give it away :)


And a few tips:

Gummy bears once refrigerated are surprisingly hard to chop - so take it easy if you're making the lolly version. This recipe is a great one for the cooler months because the chocolate, not having anything else mixed in (which is how I like it!) can get a bit melty.

Thanks for the recipe Haline!